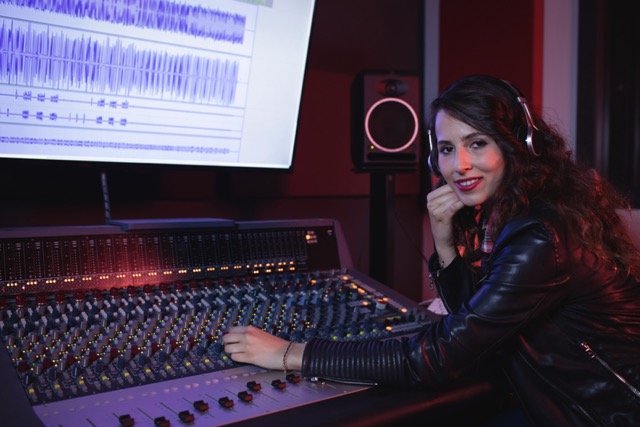

Whether you’re a seasoned audio enthusiast or just getting started with your first recording, the world of audio production can be incredibly exciting. But, let’s be honest—sometimes it can also feel a little overwhelming. From microphones to mixing boards, software to soundproofing, there’s a lot to learn. But here’s the good news: you don’t have to be a tech genius to get started. With the right mindset and tools, anyone can successfully complete an audio production project.
In this guide, we’ll walk you through the ins and outs of audio production, from planning your project to polishing the final track. Whether you’re working on a podcast, a song, or a simple voiceover, this article will give you the steps you need to follow to turn your ideas into crisp, professional audio.
So, ready to dive in? Let’s get started!

At its core, audio production is the process of capturing, editing, and polishing sound to create a final product. Whether you’re working on music, podcasts, film soundtracks, or even just simple voiceovers, the principles remain the same. But what exactly goes into an audio production project?
Audio production projects typically follow a workflow that includes planning, recording, editing, mixing, and mastering. Each step requires attention to detail and, depending on your project, could involve different tools and techniques. Think of it like baking a cake: each ingredient is crucial, and every step builds on the last to create something delicious—or in this case, something that sounds amazing!
But before you jump into the deep end, let’s take a look at how to plan your audio project.
Before hitting the record button, it’s essential to have a clear plan for your audio project. Ask yourself some key questions: What’s the goal of this project? Who is the audience? What kind of content will you produce—music, voiceovers, or something else?
By defining your objectives upfront, you’ll ensure that your audio production stays on track and aligns with your vision. Here’s a quick checklist to get started:
A little planning goes a long way in avoiding headaches down the road.
Now that you’ve got a plan in place, it’s time to think about where you’ll be recording. A great recording starts with a well-prepared space. You don’t need a professional studio to get high-quality results; even a spare room in your home can do the trick if you set it up right.
Here are some key points for setting up a good recording space:
Once you’ve got your space ready, it’s time to move on to the gear.
Choosing the right gear can feel a bit like choosing the perfect set of tools for a big DIY project. You want to make sure you have everything you need, without overcomplicating things or blowing your budget. Here are some essentials for most **audio production** projects:
The way you record your audio will directly impact the quality of the final product. Even with the best equipment, poor technique can lead to underwhelming results. Here are some key recording tips:
Remember, your goal is to capture clean, clear audio right from the start to minimize editing time later.
Editing is where the magic really happens. It’s like taking raw ingredients and shaping them into a final dish. But instead of chopping veggies, you’ll be trimming audio, removing background noise, and piecing together the best takes.
Most DAWs have a variety of tools to help you:
Editing can be a time-consuming process, but it’s key to creating a polished product.
Mixing is where you blend all your individual tracks—like vocals, instruments, or sound effects—into one cohesive audio file. Imagine you’re a painter mixing colors on a palette, trying to get the perfect shade.
Here are some basic principles for mixing:
A good mix should feel balanced and clear, with each element occupying its own space in the sound spectrum.
Mastering is the final step in audio production and ensures your audio sounds good across all platforms and devices, whether it’s played on high-end speakers or a smartphone. During this process, you’ll fine-tune the overall levels, add any final EQ tweaks, and make sure the audio is loud enough without distorting.
Think of mastering like the cherry on top of a sundae—it’s a small touch, but it makes all the difference.
Collaborating with other musicians, producers, or voice actors can elevate your audio project to new heights. But collaboration also requires clear communication and organization. Make sure everyone involved understands the project’s goals, timeline, and their specific roles.
Use cloud storage to share files easily, and don’t be afraid to give (and receive) constructive feedback. Working with others can not only make your project better but also help you learn and grow as a creator.
Even with the best planning and equipment, things can go wrong. Here are a few common issues and how to fix them:
Once your audio is ready to go, the final step is exporting it. Different projects may require different file formats:
Choose the right format based on where your audio will be used. A podcast, for instance, may do just fine with MP3, while a professional music track may require WAV or FLAC.
There are countless tools and software available to help you create great audio. Here are a few popular options:
These tools range from simple to advanced, so you can choose the one that fits your needs and experience level.
An audio production project can quickly become overwhelming if you don’t stay organized. Here are some tips:
Staying organized will save you time and frustration.
Once your audio project is complete, you’re not done just yet. There are still a few things to consider, such as distribution and promotion.
Completing an audio production project is both rewarding and challenging. From planning to mastering, every step plays a crucial role in shaping the final product. Whether you’re recording music, a podcast, or any other audio project, following these steps will help you create something you’re proud of.
Remember, great audio production doesn’t happen overnight. It’s a process of learning, practicing, and refining your skills. So don’t be afraid to make mistakes, and most importantly, have fun!
With more than 30 years of experience in voice acting and audio production, Vox et Veritas – Productions enhances the audio production and voiceover experience using project management solutions and creating a personalized environment that adapts to the specific needs of our customers, including: voice-over, dubbing, voice acting, audio production and audio mixing.